
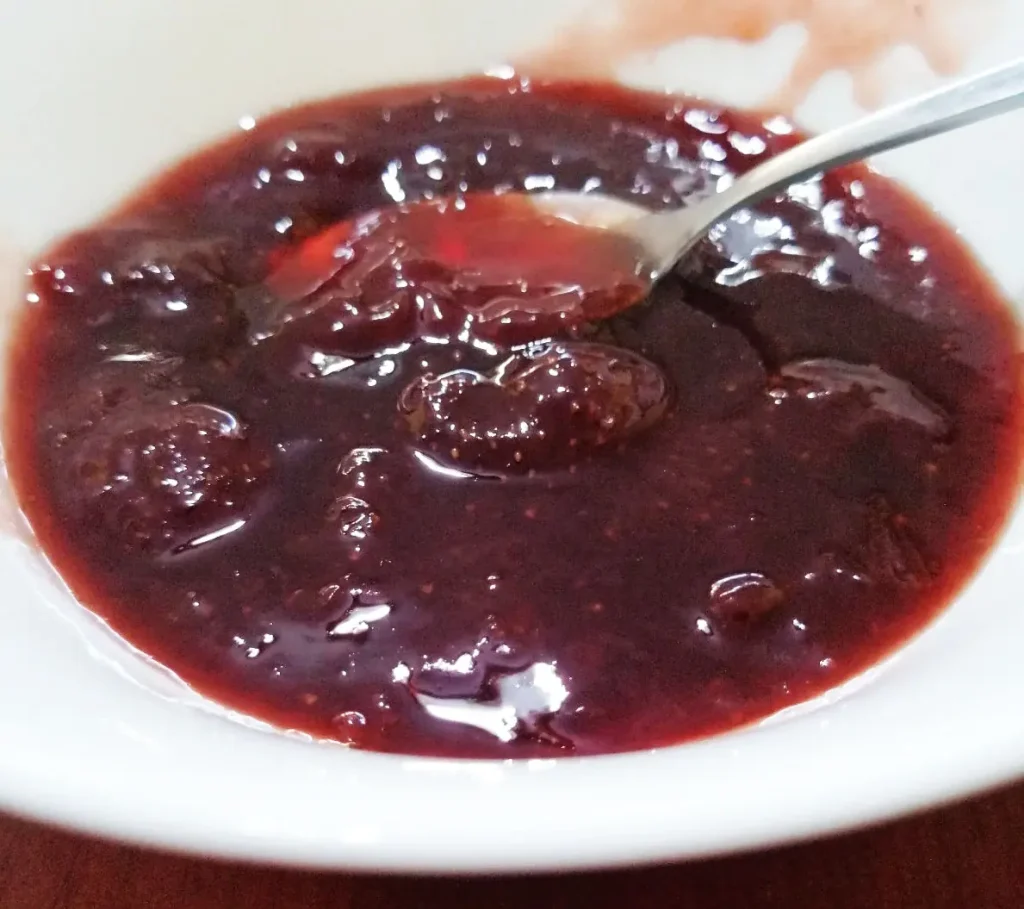
For a few weeks each year, strawberries seem to ripen faster than they can be eaten.
They do not keep well for long, especially during warm weather. Once the harvest starts, it does not take many days before we need to decide what to do with the extra fruit if we do not want it to spoil.
When several rows in the garden become ready at the same time, making jam is often the simplest way to preserve part of the harvest. In our family, strawberry jam is something we look forward to every year, especially during winter. Because of that, there is usually very little debate about what to do with an abundance of strawberries. If we have more than we can eat fresh, some of them will almost certainly become jam. We also like to can a few jars of strawberries in light syrup for the pantry so we can enjoy them long after the season has ended.
Choosing Strawberries for Jam
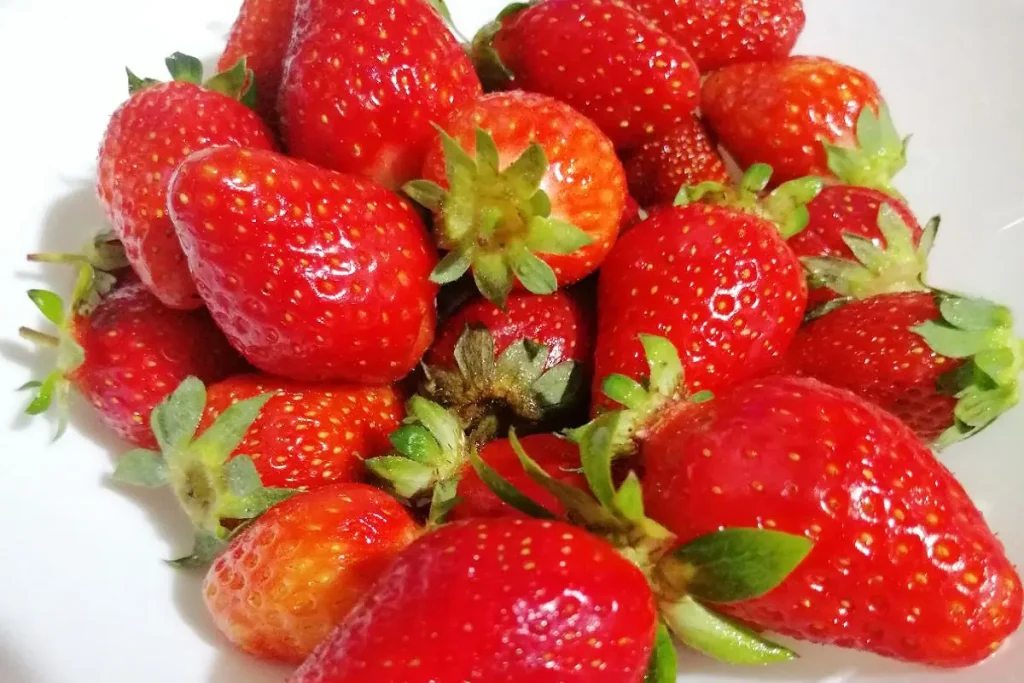
We usually use the ripest strawberries for jam. They may not always be the most attractive berries in the bowl, but they are often the most flavorful. Softer, fully ripe strawberries release more juice during cooking and develop a richer strawberry flavor.
That said, when the harvest is especially abundant, like it was this year, we do not spend much time sorting through every berry. We simply use what we have. When several baskets of strawberries are waiting to be processed, making jam becomes less about finding perfect fruit and more about making good use of the harvest before it is gone.
Ingredients
Making strawberry jam requires only three basic ingredients:
Strawberries
Sugar
Lemon juice
Many traditional recipes use a one-to-one ratio of fruit and sugar, meaning for 1 kilogram (2.2 lb) of strawberries 1 kilogram (2.2 lb) of sugar.
Some people prefer it that way, especially if the jam will be stored for a long time. For our taste, however, that amount of sugar feels a bit excessive and tends to overpower the flavor of the strawberries.
We usually make our jam with about 700 to 800 grams (1.5–1.75 lb) of sugar for every kilogram (2.2 lb) of strawberries, along with the juice of half a lemon.
There is no need to measure everything perfectly. If the strawberries are especially sweet, we may use a little less sugar. If they are slightly tart, we may add a little more. After making jam for a few seasons, it becomes something that is easy to judge by eye.
Preparing the Strawberries
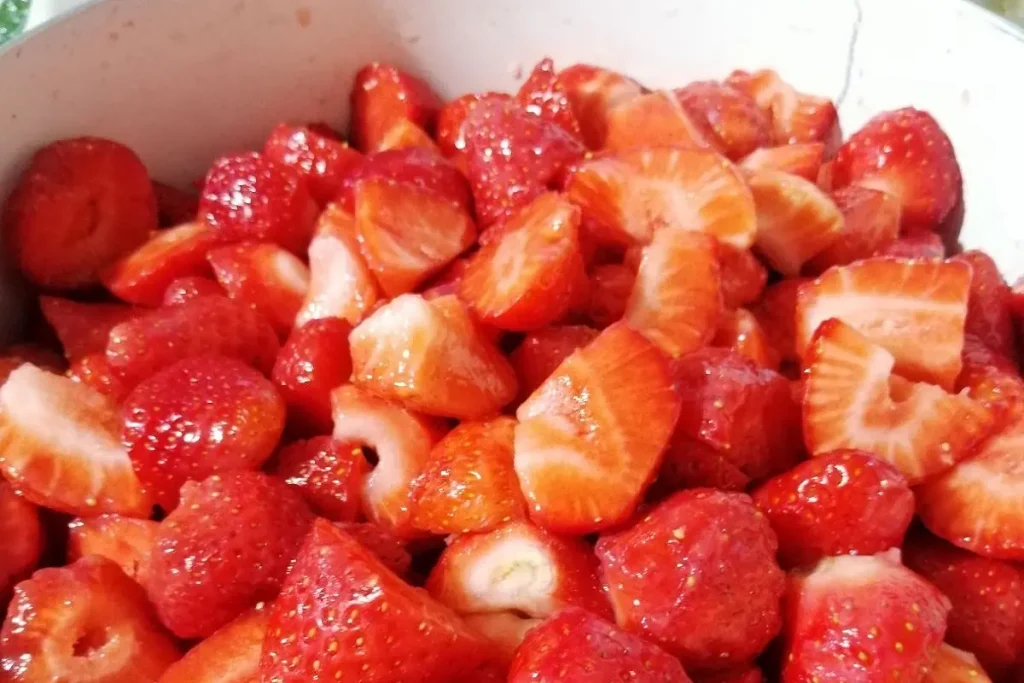
Wash the strawberries gently under cool water and remove the stems.
Large berries can be cut in half, while smaller ones can be left whole.
Place the fruit in a large pot and add the sugar. Stir gently to coat the strawberries and leave them for several hours or overnight.
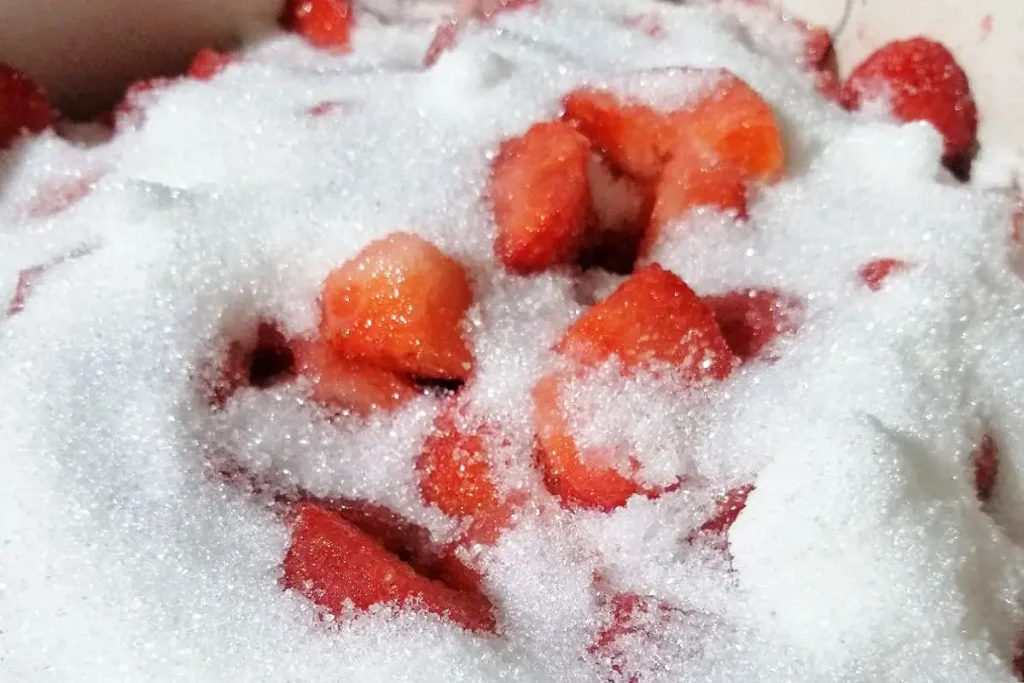
By the next morning, the strawberries will usually have released a surprising amount of juice. The bottom of the pot will be covered with a bright red syrup, which helps the fruit cook without adding water.
If you do not feel like waiting, you can start cooking the jam right away. We have done this ourselves on years when we knew the next day would be busy with other things.
Simply add a small amount of water to the bottom of the pot, then add the strawberries and sugar and place everything on the stove.
The jam may take a little longer to thicken because the fruit has not had time to release its juices overnight, but it works perfectly well and saves you from waiting until the next day.
Cooking the Jam
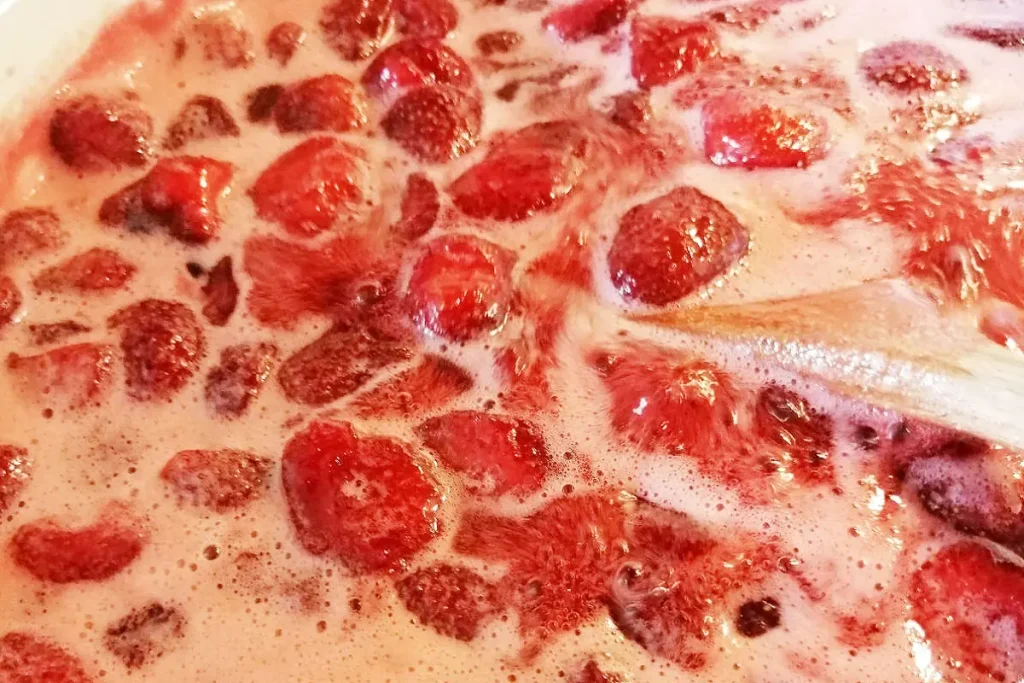
Place the pot over medium heat and stir occasionally until the sugar has completely dissolved.
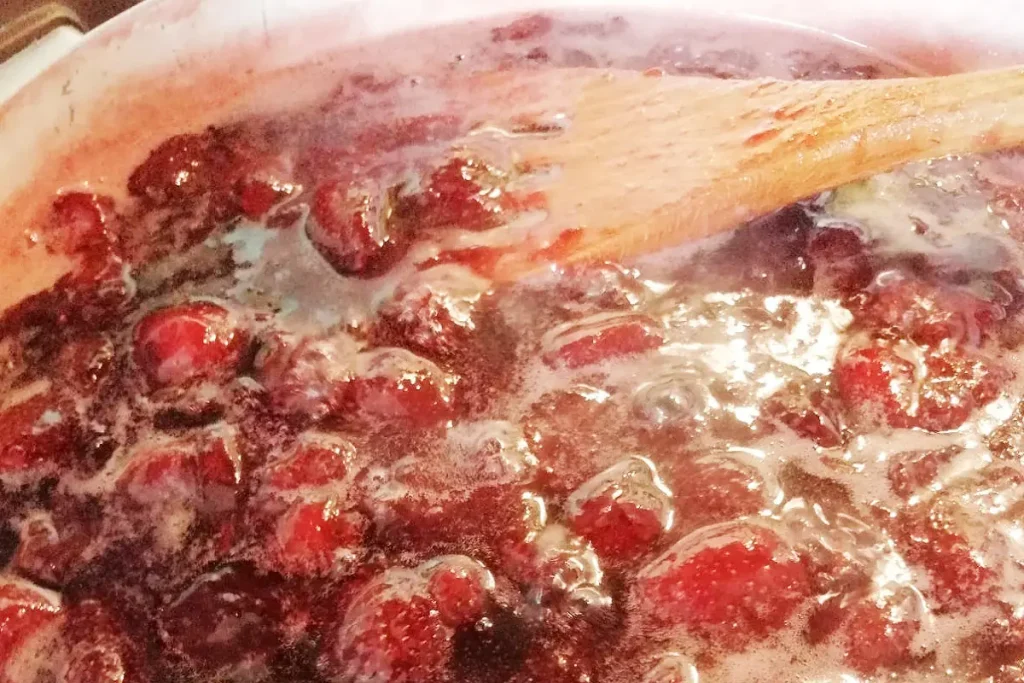
As the mixture begins to boil, foam will form on the surface. Stir regularly and keep an eye on the pot, as strawberry jam can rise quickly and boil over. If the mixture starts bubbling too vigorously, reduce the heat slightly.
The strawberries will soften and release their juices as they cook.
Add the lemon juice and continue cooking until the jam thickens to your preferred consistency. Very ripe strawberries often break down and thicken faster than expected, so it is worth checking the jam regularly during the final stages of cooking.
How to Test if the Jam Is Ready
A simple way to test the jam is to place a small spoonful on a cold plate and let it cool for a minute. For a quicker test, you can place the plate in the freezer for a minute or two to cool the jam more rapidly.
Tilt the plate slightly and watch how the jam moves. If it runs easily across the plate, it likely needs a few more minutes of cooking.
Another method is to gently draw your finger through the jam. If it immediately flows back together, the jam has not thickened enough yet. If your finger leaves a clear line that closes slowly, the jam is usually ready.
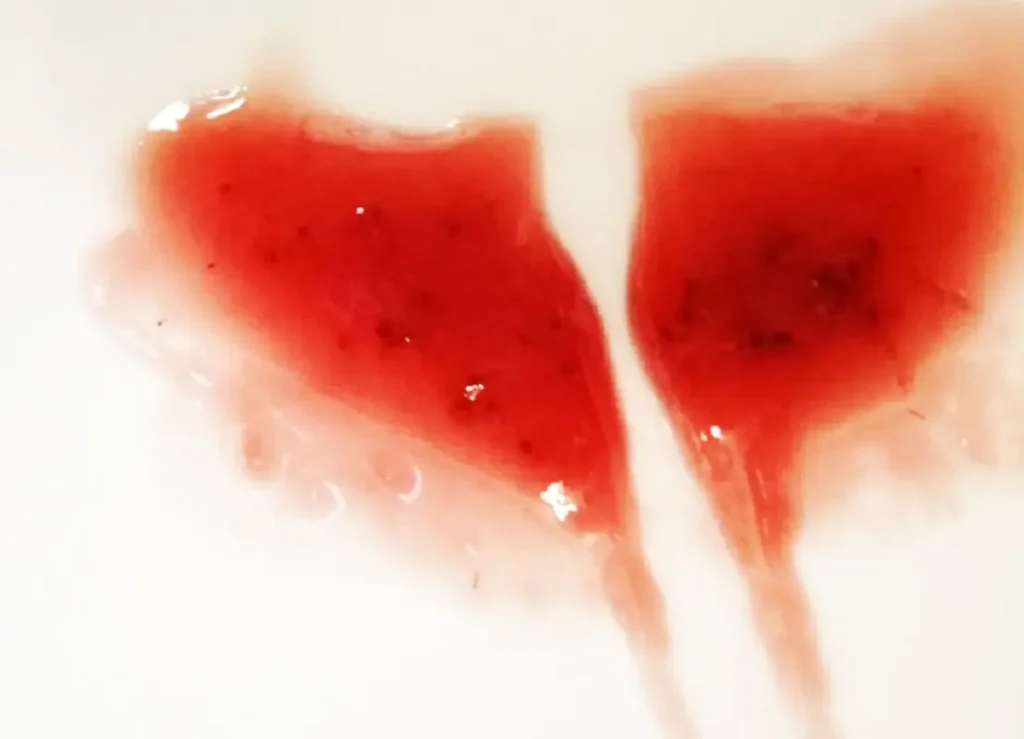
Keep in mind that jam continues to thicken as it cools, so it is often better to stop a little early than to overcook it.
After making jam a few times, judging when it is ready becomes much easier and you will start to recognise the right consistency without needing to test it as often.
Filling and Sealing the Jars
We usually prepare the jars while the jam is cooking so everything is ready once the desired consistency is reached.
Carefully fill the jars while the jam is still hot, leaving a small amount of space at the top. Wipe the rims clean and seal immediately.
Turn the jars upside down for a few minutes to help create a seal.
Storage
Store the sealed jars in a cool, dark place.
Properly sealed strawberry jam will usually keep for many months.
Once opened, store the jar in the refrigerator and use it within a reasonable period.
A Few Things We Have Learned
When strawberries contain more water, whether because of regular watering or a particularly rainy season, the jam usually takes a little longer to thicken during cooking.
One thing that rarely changes is the smell in the kitchen. A batch of strawberry jam tends to fill the entire house with the scent of cooked berries, and it often lingers long after the jars have been put away.
By winter, opening one of those jars brings back a small reminder of the weeks when the strawberries were ripening faster than they could be picked.